 |
 |
Updated July 24, 2018 because Google has stopped providing a URL shortener service.
Updated September 19, 2019 in order to switch url shortener website.
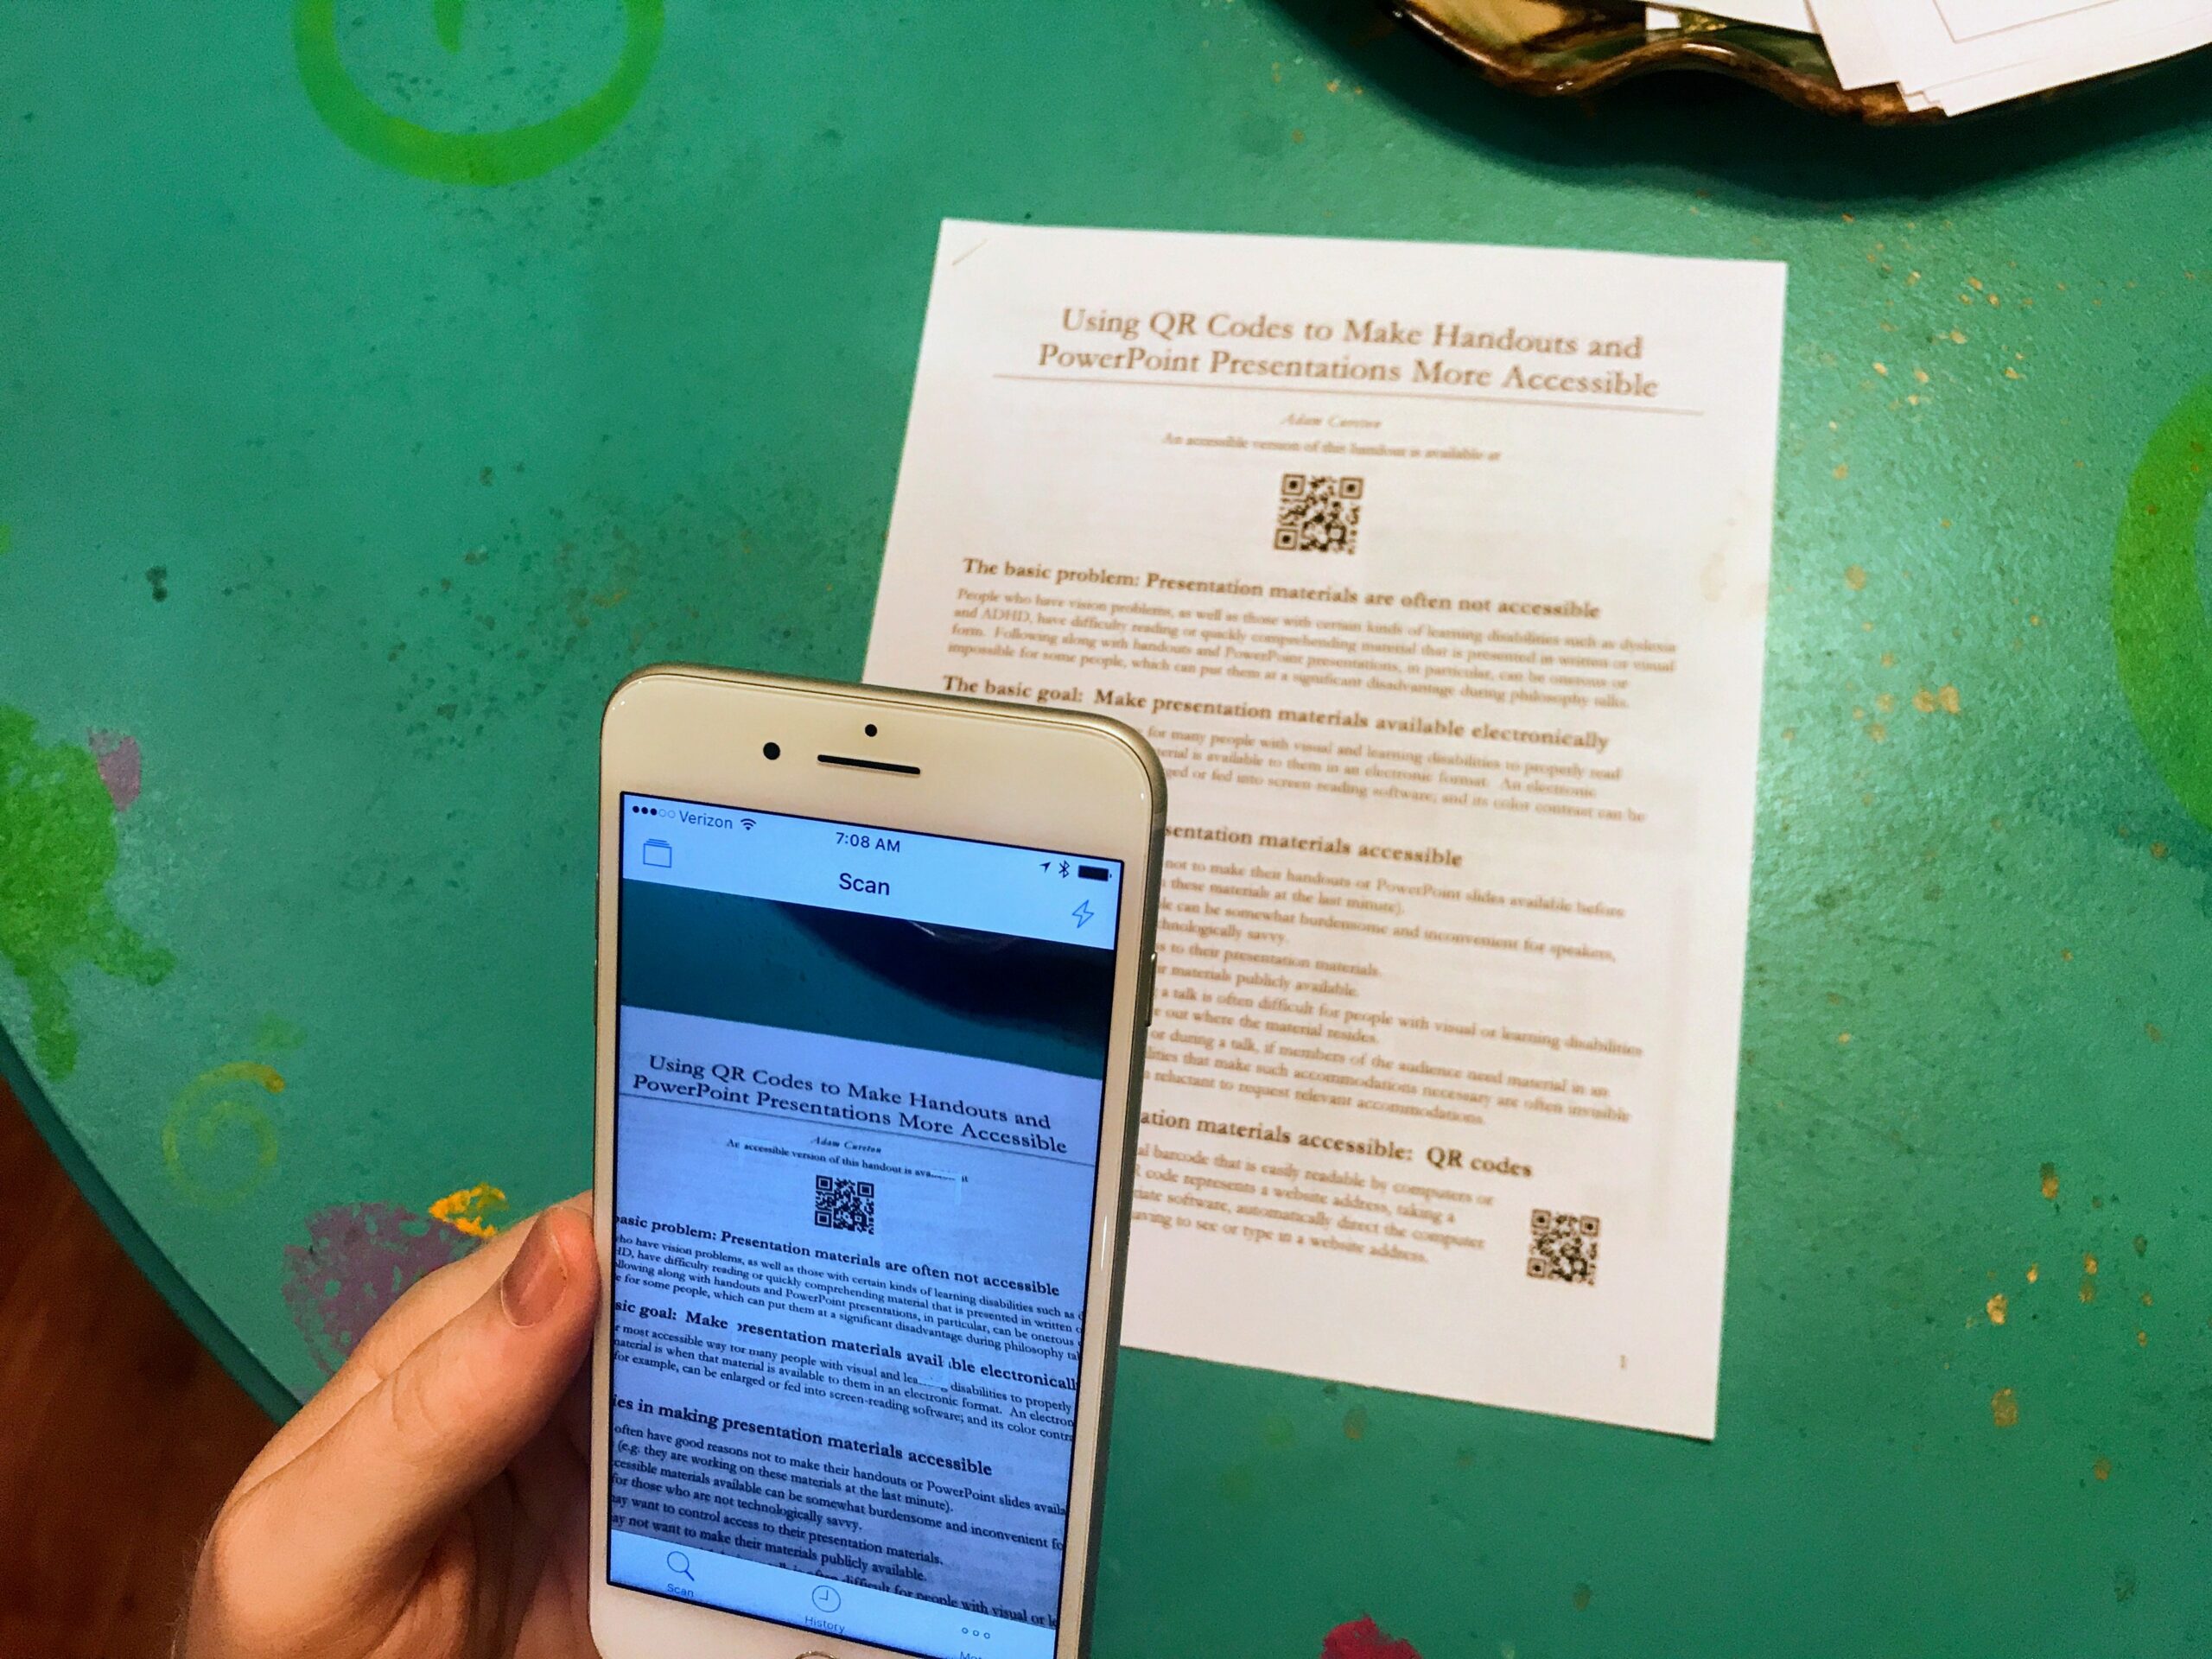
Handouts, PowerPoints and other presentation and teaching materials are often not fully accessible to people with disabilities and others who have trouble seeing or reading printed or projected material. I know first-hand, as a visually impaired person, that lectures and talks are very difficult to follow when I cannot read the handout or see the PowerPoint slides. Presenters, lecturers and teachers, however, are often reluctant to make their material available ahead of time because many of us are working on them up until the last minute. QR codes are a free, easy, convenient and effective way to make handouts, PowerPoints and other presentation and teaching materials more accessible to people with disabilities and others. These codes can be easily generated from a shared link to your materials, which then allow blind and visually impaired people, along with other audience members, to aim their smartphones in the general direction of those materials and instantly download a copy of your document to their device. Once they have an electronic version of your document, they can enlarge the text, use screen-reading software, adjust the color contrast and make use of many other kinds of accessibility features, both during the presentation and afterwards. Once the presentation is over, the QR code can be cancelled, which prevents others from gaining access to the document that was shared during the presentation (although anyone who downloaded a copy of it during the presentation will still have access to it).
Including QR codes on presentation materials is a very effective way to help ensure that your talks, lectures and classes are fully accessible to all.
If you are ready to jump right in, you can jump directly to the how-to guide for presenters or the how-to guide for audience members. You can also take a more in-depth look at the basic problem that QR codes can help to solve and why they should become an integral part of our approach to accessibility.
[divider]
The Basic Problem and a Proposed Solution
The basic problem: Presentation materials are often not accessible
Many people who have vision problems, as well as those with certain kinds of learning disabilities such as dyslexia and ADHD, have difficulty reading or quickly comprehending material that is presented in written or visual form. Following along with handouts and PowerPoint presentations, in particular, can be onerous or impossible for some people, which can put them at a significant disadvantage during talks, lectures and other presentations.
The basic goal: Make presentation materials available electronically
The only or most accessible way for many people with visual and learning disabilities to properly read circulated material is when that material is available to them in an electronic format. An electronic document, for example, can be enlarged or fed into screen-reading software; and its color contrast can be adjusted.
Difficulties in making presentation materials accessible
There are several obstacles, however, to making presentation materials available electronically:
- Speakers often have good reasons not to make their handouts or PowerPoint slides available before their talks (e.g. they are working on these materials at the last minute).
- Making accessible materials available can be somewhat burdensome and inconvenient for speakers, especially for those who are not technologically savvy.
- Speakers may want to control access to their presentation materials.
- Speakers may not want to make their materials publicly available.
- Accessing electronic material during a talk is often difficult for people with visual or learning disabilities because it is tough for them to figure out where the material resides.
- Often it is difficult to know, before or during a talk, if members of the audience need material in an electronic format because the disabilities that make such accommodations necessary are often invisible and people who have them are often reluctant to request relevant accommodations.
A new way to make presentation materials more accessible: QR codes

A sample QR code that encodes a link to the National Council on Disability website (ncd.gov)
A QR is an optical, two-dimensional barcode that is easily readable by computers or smartphones with a camera. When a QR, or ‘Quick Response’, code represents a website address, pointing a camera at the code will, with the appropriate software, automatically direct the computer or smartphone to that website, without having to see or type in a website address.
- Software that can read QR codes is amazingly forgiving. You do not have to be especially accurate when scanning them. Pointing your camera in the general direction of a QR code, even at a significant distance, will usually be enough for the computer or smartphone to translate the underlying data and send the user to the relevant website address.
- File-sharing services that many of us already use, such as Dropbox and Google Drive, can easily generate website addresses for handouts and PowerPoint presentations.
- These addresses, however, are often relatively long, which means that QR codes that encode them must be relatively complicated and so more difficult for computers to pick-up, especially at a distance. Free services are available that shorten website addresses and so make QR codes simpler and, as a result, more accessible.
- These shortened addresses can then be encoded into QR codes using free online services.
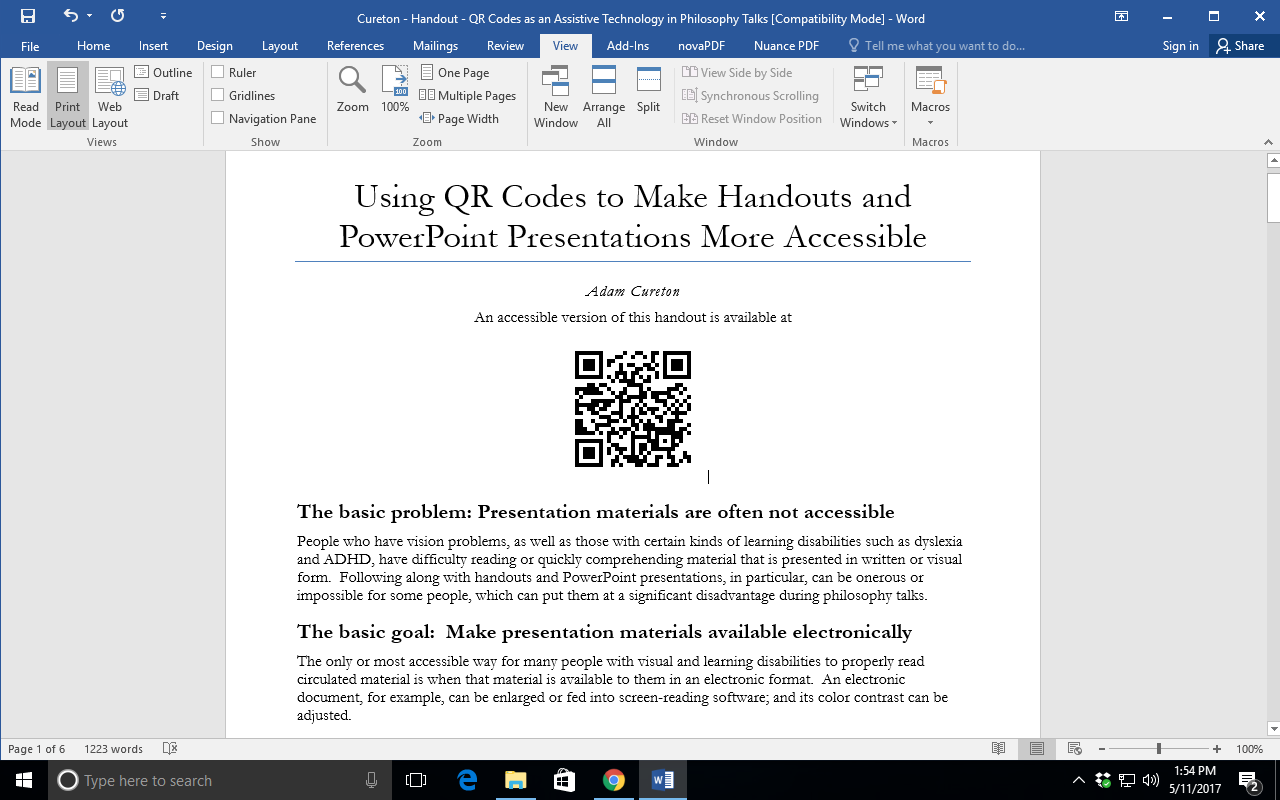
- The resulting QR codes can then be put on handouts and on PowerPoint presentations in unobtrusive ways that nonetheless make it much easier for people with visual and learning disabilities to access those materials.
- Simply announcing that there is a QR code on the handout or on the current PowerPoint slide would allow a disabled person to point his or her smartphone camera at it and immediately be taken to an electronic version of those documents, which they can then use to follow along the presentation in much the same way as others.
In the guide for presenters and the guide for audience members, I discuss how, in particular, to use QR codes in this way.
Advantages of this approach
There are several advantages to using QR codes in this way:
- Unlike just listing the website address directly on presentation materials, audience members do not have to see well or at all in order to use QR codes as a means to access those materials.
- Allows speakers to avoid reading out a website address, which can be obtrusive and difficult to accurately follow for people with certain kinds of disabilities.
- The process is very fast for speakers and audience members.
- The approach is free for speakers and audience members.
- Many people who are not disabled might appreciate having handouts and PowerPoint presentations in an electronic format.
- Speakers can make their materials available in this way with little effort or technological know-how, even right before their talks, as long as they have internet access.
- Distribution of presentation materials can be regulated by who has access to the QR code.
- Speakers can also cancel the links they have created by moving or renaming their file or by cancelling the shortened link they created.
Potential drawbacks of this approach
Using QR codes is not perfect, but many of its drawbacks can be overcome:
- Some file formats, such as PDFs, may not be easily accessible, so it is usually better to use native file formats (MS Word, MS PowerPoint, etc.).
- Blind members of the audience may not be aware that a QR code is visible, so speakers must make this announcement. Once they have done so, the audience member can open the appropriate app on his or her phone, point it in the general direction of the speaker and wave it around a bit, which is usually enough for the app to pick-up the QR code and direct him or her to the presentation materials.
[divider]
How-to guides to using QR codes in order to make presentation materials more accessible
There are many ways to use QR codes to make presentation materials more accessible. Below I describe some free methods that speakers and audience members can use to do so.
Guide for Speakers
-
- Install Dropbox, Google Drive or a similar file sharing service.
[tabby title=’Dropbox’]

[tabby title=’Google Drive’]
 [tabbyending]
 - Make sure that your file is saved as a Microsoft Word, Microsoft PowerPoint or other commonly available, natively formatted file. PDF versions are usually not as accessible as native file formats.
- Save your file to a file-sharing service (e.g. save your file anywhere in your Dropbox folder or on your Google Drive).
- Generate a link (i.e. a website address or URL) for your handout, PowerPoint or other presentation material and copy this link to your clipboard.
[tabby title=’Dropbox (Windows)’]
Find your file in your Dropbox folder, right-click on it and select ‘Copy Dropbox Link’, which will create a link to your file and copy it to your clipboard.
Choose ‘Copy Dropbox link’[tabby title=’Dropbox (Mac)’]
Find your file in your Dropbox folder, right-click on it and select ‘Copy Dropbox Link’, which will create a link to your file and copy it to your clipboard.
Choose ‘Copy Dropbox link’[tabby title = ‘Google Drive’]
In your web browser, go to your Google Drive, find the file you want to make available, right click on it and choose ‘Get shareable link’
Choose ‘Get shareable link’[tabbyending]
- Go to this URL shortener website and paste the link you just created into the box that says ‘Shorter URLs’.

Paste in your URL and click ‘Shorten’. - Click ‘Shorten’.

Your shortened URL - Your shortened URL will be displayed. Click on the icon with four boxes (third from the left) to get your QR code, which we be displayed.

Your QR code. - Right click on your QR code and select ‘Copy’.
- You can now insert your QR code into your document by pasting the image.
[tabby title=’Word for Windows: Paste’]- Right-click where you want to insert the QR code and select the ‘Paste’ icon

Right-click where you want to insert the QR code and select the ‘Paste’ icon. - You can now place and resize the QR code you inserted into your Word document.
You can now place and resize the QR code you inserted into your Word document.
[tabby title=’PowerPoint for Windows: Paste’]
- Right-click where you want to insert the QR code and select the ‘Paste’ icon.

Right-click where you want to insert the QR code and select the ‘Paste’ icon. - You can now place and resize the QR code you inserted into your PowerPoint presentation. You can either put it only on the title slide or you can also put it on each of your slides.

You can now place and resize the QR code you inserted into your PowerPoint presentation. You can either put it only on the title slide or you can also put it on each of your slides.
[tabby title=’PowerPoint for Mac: Paste’]
- Right-click where you want to insert the QR code and select the ‘Paste’ option.

Right-click where you want to insert the QR code and select the ‘Paste’ option. - You can now place and resize the QR code you inserted into your PowerPoint document.

You can now place and resize the QR code you inserted into your PowerPoint document.
[tabby title=’Word for Mac: Paste’]
- Right-click where you want to insert the QR code and select the ‘Paste’ option.

Right-click where you want to insert the QR code and select the ‘Paste’ option. - You can now place and resize the QR code you inserted into your Word document.

You can now place and resize the QR code you inserted into your Word document.
- Right-click where you want to insert the QR code and select the ‘Paste’ icon
[tabbyending]
To turn off the link
The QR code that you generated refers to the shortened version of the link that you created, which in turn refers to the original link you made from Dropbox or Google Drive. The best way to turn off access to your file is to cancel that original link, which will render its shortened version and your QR code ineffective. In other words, once your original link is destroyed, neither it nor anything that refers to it (e.g. your QR code) will give anyone access to your file. Here’s how to turn off that original link that you created:
[tabby title=’Google Drive’]- In your web browser, go to your Google Drive, find the file you made available, right click on it and choose ‘Get shareable link’
Right click on your file and select ‘Get Shareable Link’ - Click on the green toggle to turn off link sharing.

Click on the green toggle to turn off link sharing. - Once you click the green toggle, link sharing for your file will be turned off, which means no one can use that link to access your file. Your QR code to that file will no longer work.

Once you click the green toggle, link sharing for your file will be turned off, which means no one can use that link to access your file.
[tabby title=’Dropbox’]
- On your web browser, go to Dropbox and sign into your account.

Your dropbox files and folders, once you’ve logged into www.dropbox.com - Select ‘Sharing’ on the left menu.

Select ‘Sharing’ from the lefthand menu. - Select the ‘Links’ menu near the top.

Choose the ‘Links’ option. - Find your document, open its context menu by clicking on the three dots next to it, and click ‘Delete link’, which will render that link, and so the QR code that refers to it, inoperable.

Find your document on the list, click its context menu by selecting the three dots icon next to it, and choose ‘Delete link’.
[tabbyending]
You can always generate a new QR code by following the guide for presenters again.
Guide for Audience Members
- Install a free QR code reader on your smartphone or tablet – there are many available. For example:
[tabby title=’QR Scanner for iOS’]

[tabby title=’Bar Code for Android’]

[tabbyending] - Open the app and point the camera in the general direction of a QR code. You don’t need to get the code in the middle area or stop moving the phone – the app will very quickly pick up the QR code most anywhere on the screen.

Open your QR code reader app and point your phone in the general direction of a QR code. - Depending on what sort of link is encoded in the QR code:
[tabby title=’Dropbox’]
- A screen will quickly appear asking what to do with the Dropbox file.

The app automatically opens the link to the presentation material without you having to do anything. - The file can then be opened and viewed in the Dropbox app.

The file can then be opened and viewed in the Dropbox app. - You can either open the document in your Dropbox App, if you have it installed, or you can or click the icons in the upper right corner, which gives you a choice of saving the file to your device or saving it to your own Dropbox folder. If you choose the latter option then you can open the document on a laptop or other computer.
[tabby title=’Google Drive’]
- A screen will quickly appear showing the presentation materials.

The app automatically opens the presentation material. - From here you can view the file, download it to your device, or save it to your Google Drive by signing in at the top right corner.
[tabbyending]
- From here you can access the file as normal: You can use screen reading software, for example, enlarge the text, change the color scheme, etc.
- Install Dropbox, Google Drive or a similar file sharing service.


Comments
One response to “Using QR Codes to Make Presentation Materials More Accessible”
Google
Although web sites we backlink to beneath are considerably not related to ours, we feel they are really really worth a go by means of, so have a look.